You've ordered the latest Hollywood blockbuster, stocked the cupboard with popcorn, and invited the neighbors over for 'the big demo': what's left to do before debuting your new home theater system? In a word, configuration. Setting it up properly can make all the difference between a polite "Isn't that a lot of speakers?" and "Wow - honey you need to get us one of these for our house!" So what exactly do you need to do?
Step 1: Get The Seating Plan Together Consider how you're using your room. Is the 'sweet spot' - the main seats in the home theater - opposite the TV or off to the side? Where is the rest of the audience in the room? Ideally you want as many people as possible to fall into a triangle formed between the front, left, and center speakers, and the listening area.
Step 2: Consider The Source
Most dialog is hard-mixed by the studio to come from the center channel. If you're like most of us and you had a stereo system before you had a home theater, you're forgiven for spending more time thinking about front left-and-right speaker placement than center channel placement: however, this speaker really is the keystone in home theater speaker systems. Burying it away as an afterthought just won't give you the wow you're looking for.
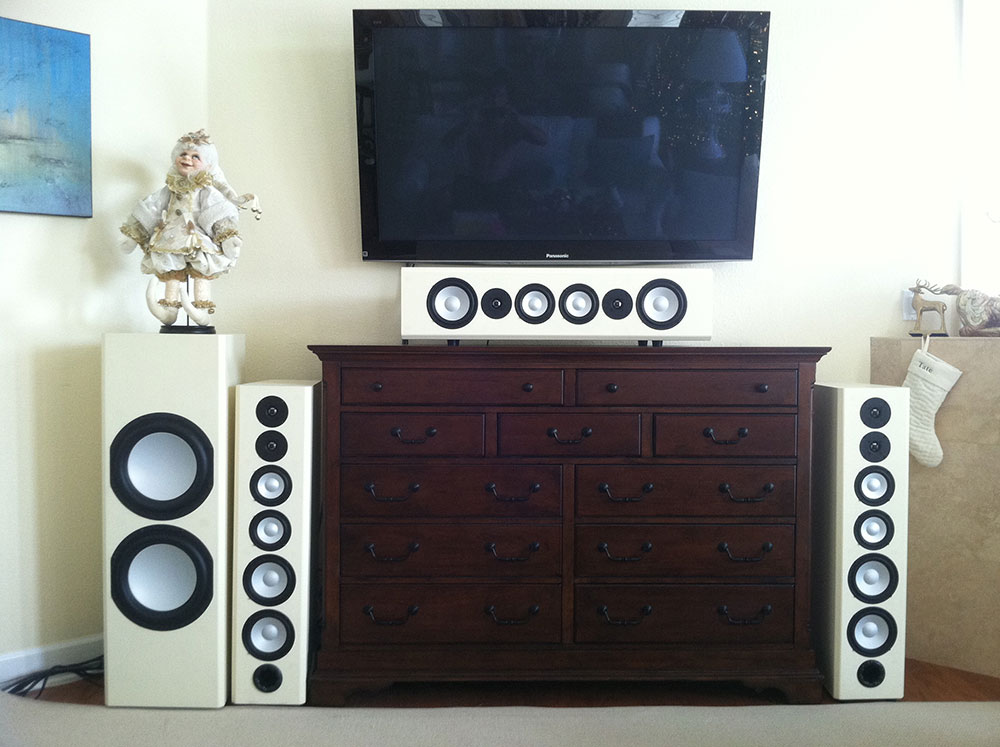
First, make sure the center is as close as possible to the screen. Having the center channel coming from the ceiling or close to the floor can cause voices to sound disembodied - and with good reason. If you have to put a center channel on the floor, try to get one like the Axiom centers that have an angled cabinet, so you can point the speaker's drivers up at the listener.
Next, consider where the speaker is in relation to what it's sitting on. If you have it hanging freely on a wall, you probably have excellent sound dispersion. If, however, you have it recessed into a cabinet, try pulling the center forward - half an inch if you can manage it - so that the front face of the speaker sits ahead of any boundaries. This opens up the sound and can make the most noticeable difference in the intelligibility of movies and 5.1-channel television show broadcasts.
If you do have the speaker in a cabinet, see if it's possible to remove the rear panel of the cabinet to give it more air to breathe. The center uses the highest acoustical energy of all the speaker channels and you want to feed it as much air as you can to take advantage of that energy.
Step 3: Position The Main Channels
Now that you have dialog firing right at you and you can understand every word the actors are saying, it's time to start adding in the left and right channels. You want these speakers to be about 25° off the center channel to each side, pointed in at that sweet spot. Ideally, the tweeters on the left and right speakers will be at your ear level when you're seated. Also ideally, the speakers should be the exact same distance away from the center channel, and from you. These speakers carry most of the movie's soundtrack, so getting this placement right will make movies more realistic and engrossing.
This is a great place to experiment: put on some tunes you love and sit in the prime seat. Ask your kids / your friend / the babysitter to 'toe' the speakers in slightly. (Toeing a speaker in means that you nudge a speaker from facing straight on to having a slight angle towards the center. The back pushes out, away from the video display, and the front of the speaker rotates in slightly.) Do this in small increments, and ask your helper to step out of the active sound window after each adjustment. You're listening for more detail and fullness from the speaker. And like love, you just know when it's right. Too far and the sound muddies and you hear each speaker distinctly (like you do as you walk past speakers in retail stores or restaurants). Not far enough and the speakers just sound 'good', not 'I'm-never-leaving-my-couch-again' awesome. Your goal is to create a convincing soundstage where music is all around you and the speakers create seamless, continuous sound.
Remember that sound waves can be interrupted by furnishings. If you're not getting that perfect sound, examine the room: do you have a large upholstered chair blocking your view of the speaker? Chances are it's blocking some of the sound waves too. Try moving the furniture out of the path of the speaker and listen to the changes it makes.
Step Four: The Effects Channels

Once you have those three speakers singing from the same song sheet, it's time to position your surround speakers. Some people call these speakers Rear Channels, but Dolby Labs calls them Surround Speakers and suggests that you position them to the left and right of the seating position. If you can't place them exactly to the side, move them slightly behind the listening area rather than ahead of you. Dolby recommends a distance of 90 - 110° to your seat. The speakers should be higher than your ears, if possible, so try to wall-mount them or get special speaker stands that will elevate them above your ears when you're seated in the sweet spot.
Having surround speakers properly positioned opens up your home theater, creating the space and depth required to make the illusion of being in the center of the action real. Placing them higher on the walls can allow for the best reflections, increasing the sense of envelopment.
7.1 Channel: If you have two sets of surrounds, position the second set behind the listening area, again high on the wall, at about 150° relative to the center speaker. 7.1-channel surround sound is especially powerful in large rooms with high ceilings, keeping the action all around you without gaps in the sound.
Step Five: Position The Subwoofer
Now for the deep bass: your subwoofer provides the sound below 80Hz. The good news is bass is omnidirectional: that means you can put the subwoofer in any of several places in your room, depending on your furniture and how you use the room. If possible, start with the subwoofer in the front of the home theater and listen for clearly defined drums, deep organ and and footfalls or explosions. You'll find that the closer you put the subwoofer to the corner, the more energy you will get. Oddly, this may be beneficial in some room environments. You will need to experiment with sub location to find the best for your room.
Step Six: Receiver Settings

Now that your speakers are in their proper positions, you can sit back, relax, and . . . tweak. If you have a tablet, download an SPL meter to do this part of the set up. If you've been into audio for a while, you may already have a hand-held SPL meter that will do the job. Some receivers actually come with a calibration microphone you can use for set up as well.
Enter your receiver's OSD (on-screen display) and let the receiver play pink noise through every channel. You'll clearly hear which speakers are too loud, and which ones aren't loud enough. One of the most important things to check here is the volume of the center channel. You don't want to turn the whole soundtrack up to hear dialog more clearly, so spend time adjusting the center channel to get enough output so that you can clearly hear what is happening.
While you're in here, experiment with the crossover settings. The optimal crossover setting is likely going to be 80Hz. Again some experimentation may result in finding a better crossover point for your room. If you have large front and/or centre channel speakers you can try moving the crossover point down for those channels.
When you are finished with these settings, pink noise or test tones run through every channel should produce a smooth, even sound.
A Few General Tips
If you're into precision and you're measuring distances for speaker placement, remember to measure from your ears, not your couch cushions.
Exciting bass is one of the most important features in a home theater. If your subwoofer isn't giving you the incredible experience you're seeking, spend some time going through our Subwoofer Placement Tips, or consider adding a second subwoofer for smoother bass distribution.
If dialog isn't crisp, you may need to spend extra time fine-tuning center channel sound.
Large room? Large speakers? Consider adding extra amplification to get more dynamic headroom. More power means more detail and more clarity - the goal of any home theater aficionado!
That's it! Your comprehensive plan to preparing your new home theater speaker system for debut! Have you got any tips I missed? Share them here!