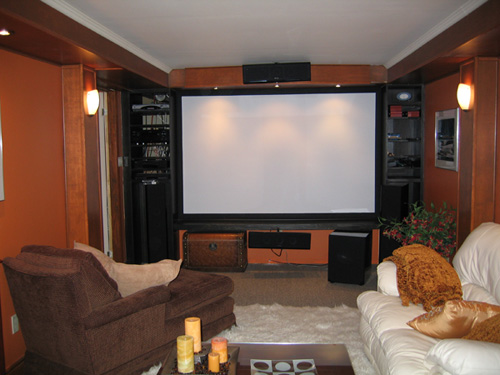
If you are contemplating creating a dedicated basement home theater in your currently unfinished basement, or planning a new home with a home theater, here's an alternative projection arrangement that will let you move a DLP or LCD front projector into a neighboring utility room along with the associated amplifiers, satellite or cable-TV box tuners and related gear.

Why rear projection?
Any ambient light falling on your screen in a conventional home theater room is a major factor that will degrade a front-projected image. By installing the projector in an enclosed room behind the screen, which can be kept completely dark, you eliminate virtually all ambient light that could interfere with the light path reaching the screen. Rear-projection systems have an added advantage of keeping your valuable audio/video gear out of sight and secure.
Most in-wall rear-projection systems are designed into new construction projects or rooms undergoing remodeling, primarily because a rear-projection system requires a significant amount of space for the throw distance behind the screen. A specialty installer might also consider an optical mirror system to fold the projected light path and reduce the required throw distance by up to half.
Special screen material
Rear projection requires a special translucent screen material because the image is viewed from the opposite side of the screen. Such screens are available in a variety of sizes and aspect ratios from Da-Lite, Draper Cineflex, Stewart Filmscreen and other vendors, and start at around $359US. There are also special translucent acrylic versions with very high gain (up to 7.5). Position a compact DLP or LCD high-definition projector in the utility room behind the screen, so it throws its image to the screen in front. It's important that the entire utility room - floors, ceiling and walls - be painted a flat black to absorb stray light of any kind. On the other side of the screen, of course, is your home theater room. The screen itself, when not in use, could be covered by remotely operated curtains just like in a real movie theater.
Why do this? By centering the projector and placing it as close as possible to the screen (within the limits of the projector's lens), it provides a very bright image because of a shorter “throw.” In the theater room, the image can be viewed with ambient light present and still be highly acceptable—brighter and with better blacks than an image from a front projector in the same room as the seating, where any ambient light falling on the screen washes out the blacks and contrast. It's really a variation of a self-contained LCD or DLP rear-projector, but it eliminates the bulk of the latter by moving the projector to the utility room behind the screen.
Of course this setup will require a DLP or LCD projector with remote-controlled focus and zoom lens, as well as remote infrared sensors in the theater room, so you can control not only the projector but the AV receiver and DVD player or other associated AV gear. Variations of this are possible, depending on whether or not you want immediate access to your AV preamp or receiver in the theater room, or whether an infra-red sensor or module in the wall will be sufficient. The projector will also require an image reversal switch, because otherwise the projected image would be backwards when viewed from the other side of the screen.


