Just about everyone has had the experience at one time or another visiting friends or relatives when there happens to be a TV on in the room. If you're like me—and I assume most audio-video enthusiasts have this reaction to a greater or lesser degree—you see your host's TV or video display and think, “Why are they running the skin tones so red! All it needs is a little adjustment, and it's so annoying. Should I speak up or will my host interpret this as unsolicited criticism?” (probably!)

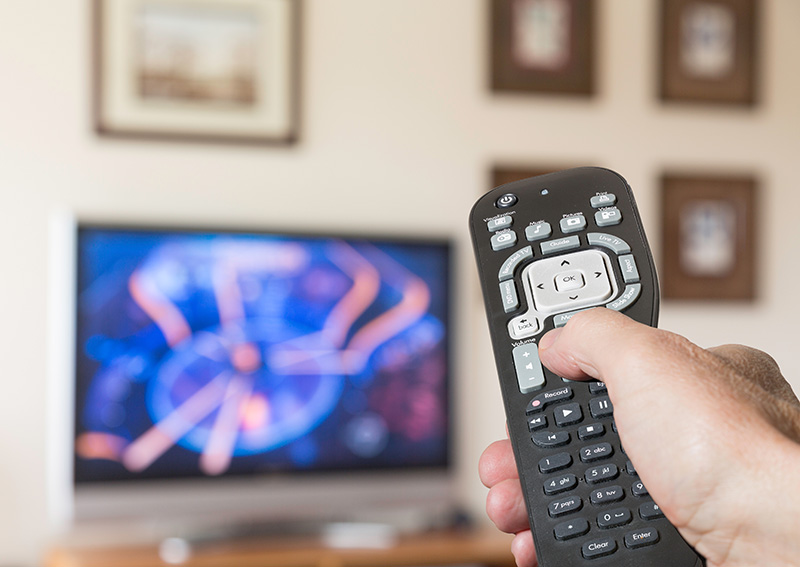
To avoid the latter scenario occurring when guests visit your place or simply to get the maximum performance out of your brand new HDTV set or an older CRT (picture-tube) set, here is a list of typical TV picture ills, and a basic guide to fixing them. Many of these might result simply from an inadvertent press of the wrong button on the remote, either by you or another user.
The “Big, Heavyset” Look
The Problem. Everyone on screen looks like they've been hitting the donut counter or hoovering up too much good food. In almost all cases, someone has inadvertently activated the “stretch” mode on a new widescreen TV. This tells the set to digitally expand a standard, squarish non-HD 4:3 image to fill the widescreen aspect ratio so that no black borders appear at the sides of the screen. It's nice not to see black borders, but “stretch” modes will also tend to expand the horizontal girth of anyone on-screen. Sometimes the actors in the center may be left untouched, but as they exit left or right, they stretch to larger proportions.
The Fix: To cancel this mode, look for a picture size control on your TV's remote and go through the options until figures on-screen look normal. Set it to “4:3” for non-high-definition TV images. The widescreen aspect ratio is part of the HDTV standard, so if you are watching HDTV programming, then set the TV for “16:9” or “widescreen.” With the right setting, your HDTV should display conventional non-HD 4:3 images with black borders to each side (get used to them!) and automatically go to undistorted widescreen images with an HDTV program.
Peculiar Skin Tones
The Problem: Skin tones seem too ruddy or reddish. Actors look like they should book an appointment with a dermatologist or sign up with the local chapter of AA (this does not apply to persons or actors with a naturally ruddy complexion).
The Fix: On an older CRT picture-tube set, start by going to the Color control and reducing color saturation (lessens the intensity of all colors). Now look at the skin tones. Are they still too red, or just a few whom you suspect might have a naturally ruddy complexion? In most cases, the Tint control should help you achieve correct skin-tone balance. Older sets may have an auto-color or auto-skin-tone setting that may give everyone a kind of peachy pallor—pleasant but not realistic. Turn that control off and individually adjust the Tint control for natural skin tone, depending on the program (programs shot on film may look different than programs shot on video, and you may have to compensate). Either that, or put up with peachy looking skin tones that auto-color circuits tend to deliver. Newer HDTV sets may have elaborate color and tint adjustments that let you vary skin tone with quite subtle settings until you're pleased with the result. Your set may also have “color temperature” settings, often with labels like “Warm”, “Neutral” or “Cool”. These will affect the overall appearance of colors and skin tone. Start off with the “Neutral” midway setting or “Warm” and see which looks the most realistic.
HDTV and Standard TV Look the Same
The Problem: High Definition TV (HDTV) broadcasts, which are supposed to look much sharper and clearer than standard DVD images, look the same, even though you bought an HD set. Or perhaps you see no difference between conventional standard TV broadcasts and programs broadcast in High Definition.
The Fix: If you get your TV from cable-TV or satellite, first confirm that you have an upgraded cable or satellite set-top box that is capable of HDTV reception. HD channels have different channel numbers than standard TV channels for the same programming and your set must be fed an HD signal in order to display it. Likewise, owners of “cable-card” HD sets must ensure that the cable card is upgraded to receive HD broadcasts from the local cable-TV system.
One of the most common problems is incorrect connection of the cable or satellite box and your HDTV, and this sometimes occurs even with cable-guy installers. To deliver HD programming to your new HD video display or projector, the cable/satellite set-top box must use either component-video connections (three separate RCA cables color coded red, green and blue) or an HDMI/DVI output, which looks like a computer multi-pin connector. If you are using a single yellow (composite) video cable or S-video cable like the ones we used from VCRs, you won't see HD resolution and clarity.
Be sure and go into the digital cable box or satellite receiver box menu and set the output of the cable box to match the “native resolution” of your video display. Most, plasma, LCD, DLP, and LCoS displays and projectors are “fixed-pixel” arrays, and you should set the cable box to “720p,” which is one of the two HD standards. Although broadcasters, satellite services, and digital-cable services use both 1080i and 720p to distribute programming, don't set the cable box or satellite box to 1080i, unless your video display is a picture-tube (CRT) HD set. (N.B. There is one exception: Some of the new 1080p displays will accept and de-interlace a 1080i input, so you'll benefit from the full resolution of a 1920 x 1080p display. If your set is one of these models, then set the cable or satellite box to output 1080i.)
Generally, check your DVD player and set it to output “480p” and use the component video cables (3 cables, red, green and blue) for connection to the video display or to your AV receiver and then to your TV. If you happen to have a new “upscaling” or “upconverting” DVD player that uses an HDMI or DVI digital video connector, set the player to your set's native resolution, which in the case of most HD plasma, LCD and DLP displays will be “720p.” Note that Standard DVD (480i or 480p) is not High Definition, and do not expect your upscaling DVD player to produce HD picture quality from a standard DVD. Nevertheless, upconverting DVD players may yield a slight improvement in picture smoothness with the upconversion feature in use. Only the new HD-DVD and Blu-ray formats deliver High Definition from special HD- DVDs or Blu-ray discs.
Video Projectors
The Problem : The projected picture looks good but appears somewhat blurry or “soft.”
The Fix: Most video projectors have a manual lens focus, so first check the focus carefully. Any adjustment of the zoom lens may knock focus out of adjustment. Use a detailed scene or the text of the credits at the end of a movie or program.
Next, check the inputs on the video projector. For HD, you must use either component video (see above) or HDMI/DVI. And confirm that the cable/satellite box is set to the native resolution of the video projector—in most cases, 720p.
All HD and non-HD sets have an electronic “Sharpness” control that increases edge definition. If you like the hyper-sharp look, then turn up the sharpness control to your own preference--not too far, or you'll get noisy white halos around the edges of objects. Still, many viewers like some added sharpness. Some aficionados believe there is only one acceptable “look” to images. Not so. Nor does everyone agree on what constitutes a great-looking picture. For example, I often use the sharpness enhancer on my DLP set for live HDTV sports broadcasts simply because they look more “real” (closer to what I see in real life) and benefit from the added clarity. Film and video are quite different media, and they do not have the same appearance.
Others may opt for the smoother, softer “filmy” look.
While you're at it, check to see if your HD set has a special automatic sharpness and contrast-enhancing circuit (for example, Samsung's “DNIe” circuit—Digital Natural Image Engine) to see whether you like its effects or prefer the smoother “film” look. Most of these circuits have similarly fancy proprietary names and can be defeated if the picture seems overly edgy or unrealistic. Look for a secondary button on the dedicated remote control supplied with the HD set and labeled with the circuit's fancy name or in the Picture menu.
Brilliant bright picture but detail lost
The Problem: the picture has great contrast and good blacks, but detail in white areas is bleached out.
The Fix: Go into the picture controls and lower the brightness (some sets call this “black level”), then adjust the contrast—usually by increasing it a bit--until you can just begin to see details in the white areas while still retaining acceptable blacks and contrast.
A very bright and contrasty picture initially impresses many viewers, so they run the contrast and/or brightness too high (it's called “torching” the set). Out of the box, your new video display may be set by the manufacturer to default to its brightest mode. Video cameras and displays don't have the same dynamic range as our eyes to extremes of dark and bright, so if the set is already set bright and a beach scene comes on, the little pixels oversaturate and lose all detail. See if your set has a “Cinema” mode, which will automatically lower the brightness and contrast settings. Use that and you'll see much more detail and gradation in tones and shadows, but you will have to reduce any ambient light in the room to appreciate the better picture quality. With contrast set too high, blacks will be black but all shadow areas will also be black, with no visible detail. Find a good compromise between good blacks, some shadow detail, and bright areas that still have some detail.
A related problem of messed-up picture settings may occur after a power outage or if someone has unplugged the set. This may cause the display to default to the factory settings for brightness, contrast, color and tint, and the picture will be disappointing. Not all sets have a memory to retain your custom picture settings if the set loses power. If all the whites look bleached out or too bright, or color and skin tones are out of whack, check the display's menu to see if it has reverted to the “factory presets.”
Front projection images seem washed out
The Problem: the image doesn't seem to “pop” or have enough contrast. Blacks all appear gray.
The Fix: There are two factors that cause this—either you have ambient light in the room, or your screen material (it may even be the wall) doesn't have enough “gain” or reflectance. Projectors have to throw light 10 to 20 feet across a room onto a big screen, so that light is precious. Video projectors will deliver their best images in a totally darkened room. Use blackout curtains or kill the ambient light in the room. You know how annoying it is in a movie theater if someone holds open a door at the rear of the theater and outside light floods onto the screen? The image immediately washes out. The same thing will happen in your home theater room if you have uncovered windows or any lights on.
Another factor to consider is your screen material. The more light a screen reflects back to the viewer's eyes, the higher its “gain” or reflectance. “Unity gain” is designated as one (1.0). Other things being equal, a high-gain screen with a rating of say, 2.0, will reflect more light along a narrower path than a screen with lower gain. Screen gains that measure less than 1.0 (negative gain) use a gray screen to absorb ambient light to help maintain contrast ratios. Some specialized screens are available with gain as high as 6.0, but there are usually trade-offs in terms of black levels (do blacks look really black or just grayish?) and viewing angles. Usually, the higher the gain of the screen, the narrower the viewing angle will be, i.e. the brightness of the screen falls off as you view the screen from increasing angles. This may be OK if all of the viewers are in the back part of the viewing cone and not sitting off to one side or the other.