Finally got around to finishing this little project.
IT LIVES!! No guaranty how long it'll live, but it sounds just like it did before....
The capacitors I got in from Digikey are slightly larger. The little wires are closer together too, so I ended up bending them outward a bit to get them through the holes in the board.
The solder sucker thing worked just fine. Took several attempts to suck all the old solder out is all.
Here's a couple tips for anyone who may find themselves needing the do this little 'repair'.
The hardest thing to do, is to separate the board from the heat sink. It would have been simple if I could have just disconnected all the wires, but some are soldered, and some of the little connectors did not want to cooperate, so I didn't force them and just left all the wires connected.
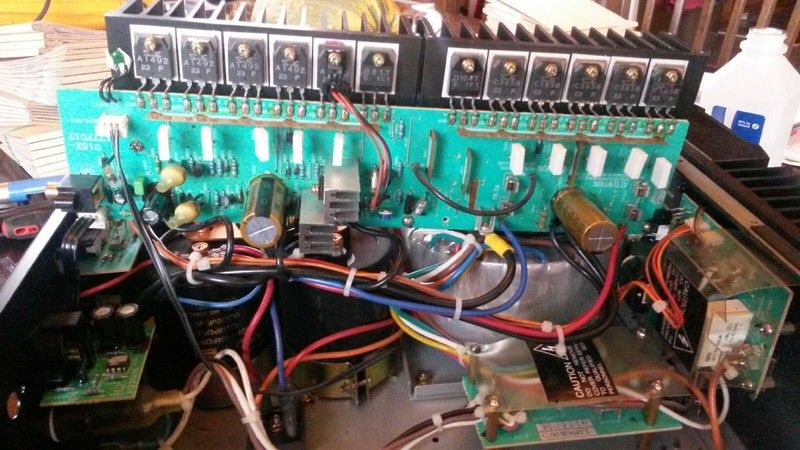
Board with new caps installed. To separate from the heat sink, there are all the little black whatchamacallits and four small cap screws that attach the board directly. The whatchamacallits kinda stick after the screws are removed, so I ended up using needle nosed pliers, to give them a gentle twist to break the bond. After all the screws are out, I then just folded the board away from the heat sink, carefully.
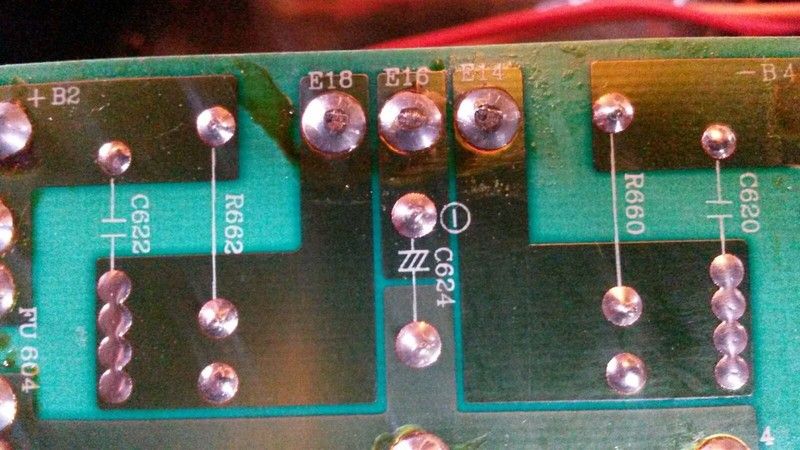
Back of board after separated from the heat sink.

The two small dots of solder are the new cap pins, soldered in place. They are the C624 pins. The caps came with wires about 1 inch in length. Glad I bought an extra cap, cause I cut the wires too short on the first one. For the remaining caps, I left them uncut, inserted them through the board, applied a good sized dollop of hot glue, ran them home and let the glue set. Then I cut the wires and soldered them.
If anyone has questions or needs clarification, let me know. I'll do my best to answer.


