I don’t have much spare time, so I’ll make this brief. If anyone wants to try this and has specific questions, I’ll answer them as they come up.
I used paper backed cherry veneer. It’s .018” thick, so I’m guessing it’s 20 mil. You can get 10 or 20 mil. I chose this species to match the cabinets in my kitchen which is part of the great room where the 600 is going.
I wasn’t sure if the veneer would roll over the leading edge corners without cracking, so I rounded them down a bit. I used a random orbital sander with 150 grit paper. I then used a sanding block to make sure that whatever radius I ended up with would be consistent from top to bottom.
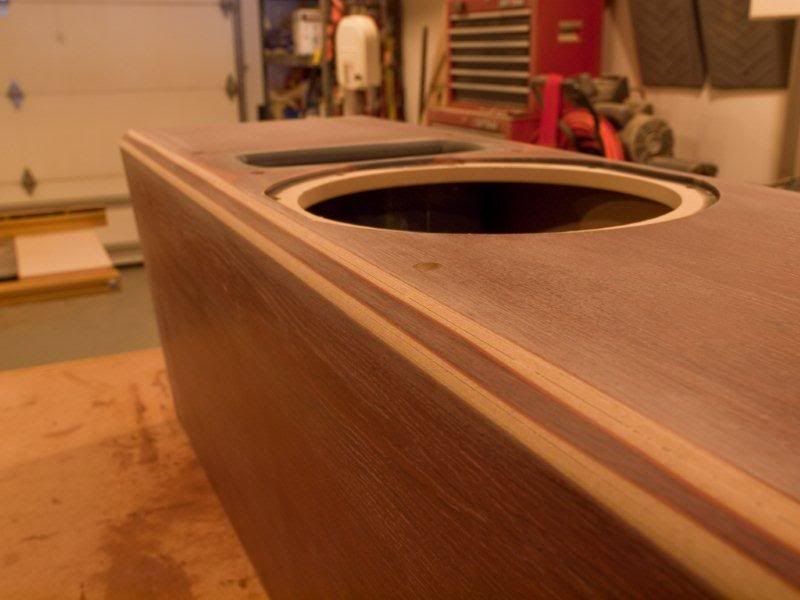
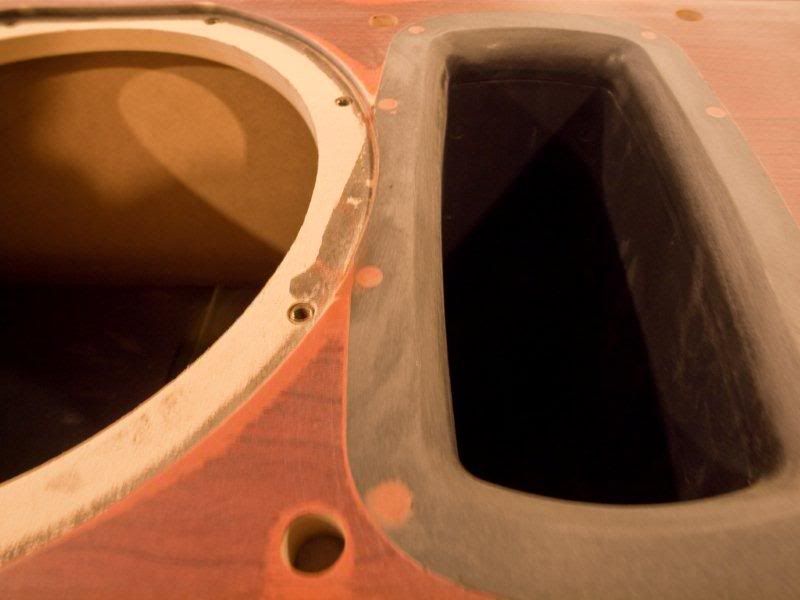
The port will not come out without destroying it. It is flanged at both ends and there’s no way to get it out without cutting it in half. I decided to sand it down flush with the cabinet. I ran some sheet rock screws in to secure it, and then filled them with filler.
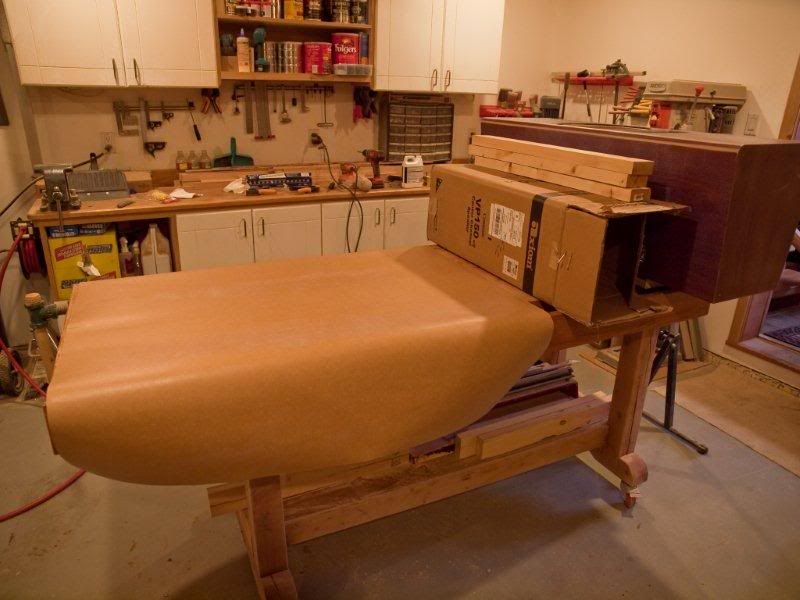
Because I wanted to roll the corners, I needed a total veneer width of 47 ¾”. The sheet is 48 ½”, so it was important to set it just right. Once the veneer touches the case, there’d be no moving it with destroying it. Contact cement sticks like crazy. I used a water based cement made by 3M. It worked very well. I rolled it on to the veneer and the case with a 4” foam roller, let it sit for about 30 to let it dry, then prepared to adhere it. I also marked the center of the case leading edge and the center of the veneer to position it. This veneer is much more pliable than I thought it would be, so I had to use a bunch of spacers to keep it from sagging and touching the case before I wanted it to. I used a 2” laminate roller, starting in the center of the sheet of the leading edge and worked my way out. After the leading edge was secure and flat, I just rolled it around the corners, pressing it down with my hand then following up with the roller.